photo Image277_1x1_zps92a4c832.gif photo Image277_1x2_zps82501ae2.gif photo Image277_1x3_zpse2f7619b.gif photo Image277_1x4_zpsbfd3d820.gif photo Image277_1x5_zps55244bd5.gif photo Image277_1x6_zpsa94012cf.gif
Showing posts with label lesson plans. Show all posts

Monday, August 5, 2013

Daily 5 Organization: How I Manage Small Group Materials

My favorite thing about the Daily 5 is that it can be adapted a million different ways to fit EVERY classroom.

Becca at First Grade in Foxwell Forest is hosting a new linky party specifically for us to share how Daily 5 works in our classroom. If you use Daily 5 (or plan to!), make sure you go link up on the 5th of each month!

Last week, I posted about  how I structure my 90 minute reading block with the Daily 5 and how I keep students accountable during Daily 5 rounds.

IMG_9623IMG_9162

I have to admit… I was initially underwhelmed when I read the Daily 5 book, but I still felt that the overall structure was well worth trying in my room. I’ve used it and pieces of CAFÉ/ Reading Workshop/ our basal series/ guided reading/ my own lessons, so my reading block is something of a hodge podge- but I LOVED how it worked for my class last year!

IMG_0160

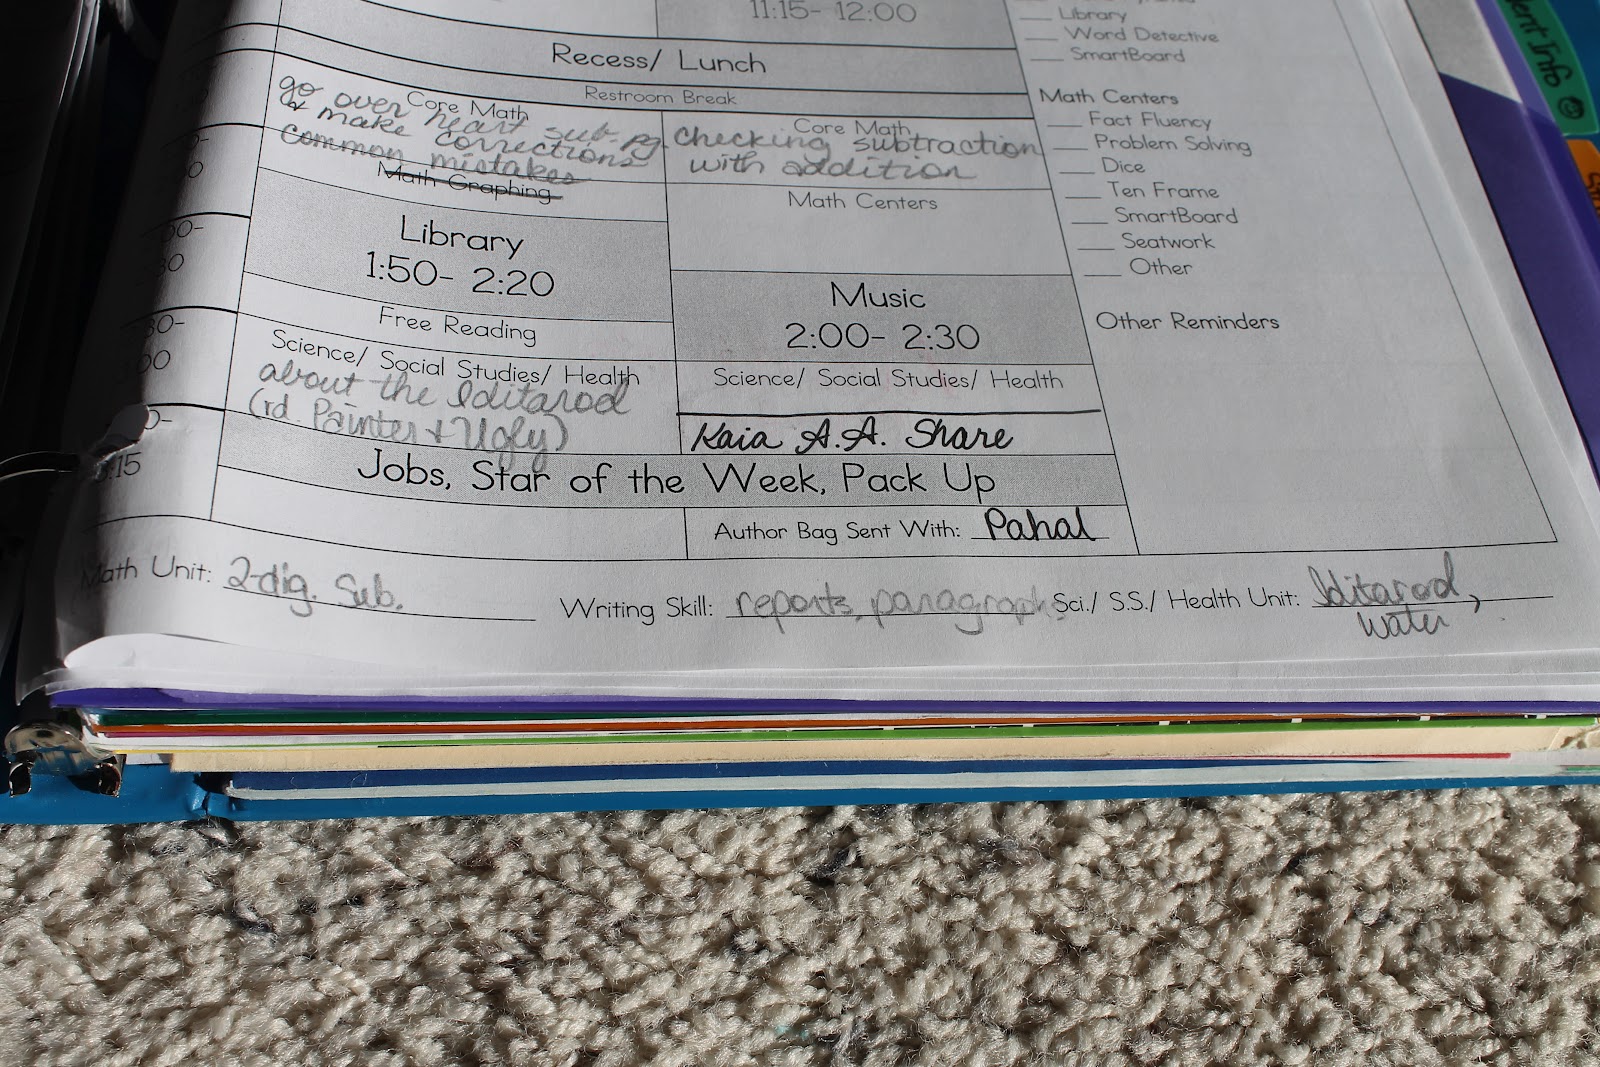
Reading Rounds are fantastic to manage my small group time, but it’s still precious time and I have to keep everything organized. As you can see in the plan section above, I simply write which group I’m working with in the “round” space of my lesson plans, but I keep more detailed plans in my guided reading binder.

I keep a CAFÉ or CRAFT menu in the front of my reading binder to reference specific strategies and then I include my small group plans. My groups are almost always taught as guided reading groups, but occasionally strategy groups like in CAFÉ (or some combination). Last year, I didn’t have a great way to do this- so I came up with a planning page that I think will work really well!

Blog- Reading Round Planner Preview 1

I fill in the date, book title (usually with GR level in parentheses), and focus of that group. Instead of student names, I usually put numbers for speed, but I like to put a little space between each one so I can mark if anyone were absent that day.

I always teach a specific mini-lesson to each group and leave myself space to write observations or teaching notes. After each group, I make a quick note of what to work on next time, and we’re done!

Blog- Reading Round Planner Preview 2

I realized this year that my students weren’t always sure of their goal because I didn’t always tell them clearly or give them anywhere to document it! This year I plan on having my kids make another section in their reading notebooks for their individual goals that we make during our weekly conferences.

I also made a more cohesive planning page for my conferences, because index cards were just not structured enough (as much as I love them!)

blog- Reading Round Planner Preview 3

This sheet is meant to be used with an individual student, so that  I can easily see progress over time and look at the last lesson when planning for the next week.

As far as my other materials, I keep it simple- a big rubber band around the book set (other than the ones the students have in their book boxes, of course), and a Post-It on the front reminding me who’s in that group. I like to call students over by their book title.

IMG_9595

(Yes, this is a graphic novel about a Magic Pickle. It is as hilarious as it sounds and there’s a whole series. My kids LOVED them!)

I keep my stacks of books in a basket from the Classroom Library Company, but they also gave me a plastic tray that fits bigger picture books.

IMG_9662

I was really blessed in my last school to have an amazing leveled book library where each book had been labeled with its Guided Reading level on the back.  We used clothespins with our names on them to check out book sets from the leveled library and know where to return them. I doubt I’ll be that blessed again, but it made things SO easy and I think with these planning pages, I’d be set to be super organized this year!

Would you like to try out my Reading Round Planning Sheets? They include both CAFÉ and CRAFT style versions of the small group planning page and the conference/ assessment planning page.

Blog- Reading Round Planner Preview 4

You can grab a copy for free at my Facebook page! This freebie will be up for all of August,  so you don’t need to hurry… but you will need to be on a computer, not a mobile device, and you will need to like my Facebook page to access it.

Please don’t forget to let me know what you think and say thank you!  : ) 

I would also LOVE to read about Daily 5 in your classroom, so link up with Becca!

Saturday, July 27, 2013

Indiana Goes Back to School- Organizing My 90 Minute Reading Block

Back to school, for me, has always been an exciting time of new beginnings- and new chances to be better organized! Read on to find out how I organize my 90 minute reading block, and to snag a data organization freebie as part of the Indiana Goes to School freebie hop!

Indiana requires teachers to use a 90 minute, uninterrupted reading block every day. I organize my block by using an adapted version of the Daily 5 (which of course belongs to the Sisters, not me, and they have not endorsed this adaptation).

IMG_9623

(Oh my goodness- I just realized my times should say 11, 11:30, 12:00. That was wrong ALL YEAR in my lesson plans!)

Anyway, you can see in my lesson plans (your free lesson plan template here) that my 90 minute block is broken up into 6 sections, so they each last about 15 minutes. I alternate between a mini-lesson and a “reading round.” Here’s what I do during the reading block:

Mini-Lesson 1: almost always a read-aloud to teach a skill, but this alternates between picture books, parts of our current chapter book, news articles, and non-fiction selections. Each week we are usually focused on one or two specific strategies, which we add to our CRAFT board (an adaptation of the CAFÉ program created by Kristen at Ladybug’s Teacher Files).

IMG_0160

Round 1: usually a small guided reading group. I don’t get to meet with every small group every day, but I generally meet with groups every other day or so.

IMG_7944

Mini-Lesson 2: my phonics/ phonemic awareness lesson, working with our spelling and reading pattern of the week to find examples and non-examples, or sometimes doing fluency practice (often including that pattern).

IMG_9441

Round 2: Another small group. Usually, these are homogeneous groups based on student level, but I keep in mind their skill needs and interests too, so occasionally the groups make more sense heterogeneous. My groups are very flexible!

IMG_9595
Mini-Lesson 3: always starts with quick vocabulary work. You can read more about my vocabulary routine here. From there, we usually spend some time digging into text together- either the weekly basal story or a common text, like our Time for Kids magazines.
IMG_9440

Round 3: This one is usually cut shorter because mini-lesson 3 almost always takes longer than 15 minutes- but that’s okay. Round 3 is usually when I pull students aside with their book box and reading notebook for 1-on-1 conferring and assessment. I like to use their numbers in my plans for anonymity but also space purposes!

IMG_0088

I’ll post soon about what my kids are doing during the rounds, but in case you’re thinking…

There’s no way my kids could do that! The Daily 5 doesn’t start on Day 1, or sometimes even in Month 1. Setting up the Daily 5 takes a lot of time and patience, but it’s possible! If you need information on how to get started, please please please go to the source and read the original books!


Isn’t that a lot to fit in? ABSOLUTELY. But teaching in “mini-lesson” format with time blocks forces me to cut my lesson down to the most important parts, the short time frame helps my students pay attention the whole time, and what’s happening during the rounds is so important that it’s absolutely been worth it in my classroom.

IMG_0251

Does it happen every day? Heck no! This is the general schedule, but sometimes we do two rounds, one round, or even no round on a super busy day (but students do get upset when this happens)! Occasionally we fit in an extra reading round, which most of them LOVE!

Is the Daily 5 even worth it? Running the Daily 5 has really simplified my reading preparation because I’m not creating and setting up new centers each week, but even better?

My students aren’t just doing “reading activities”- they are really READING!

IMG_0226

If another teacher questions the program, ask them if their students are spending 45 minutes a day reading. My kids are. The Daily 5 has made them better readers because they are reading so much and I am getting so much time to differentiate instruction. I wouldn’t be able to do that, though, if I didn’t keep my data in my teacher binder.

how to create a teacher binder ~ luckeyfrog's lilypad

Both schools in which I’ve taught used DIBELS as a quick indicator, especially for reading fluency. It’s not near as useful as a student’s book level for comprehension, but DIBELS Next makes a great quick check and helps me formulate small groups- when the data is organized.

To help you this year, I’ve created DIBELS Next Organization Charts for grades 2-6. The charts list the tests in order and the goal for each test to hopefully help you organize your data to guide your reading block, no matter how it’s set up!

Blog- DIBELS Cover Preview

The best news? They’re FREE! Visit my store here to see charts for 2nd grade, 3rd grade, 4th grade, 5th grade, and 6th grade. Each one includes a chart for BOY, MOY, and EOY with grade level goals listed for each test section.

Blog- DIBELS Doc Preview 1

If you’re a new friend, make sure you check out some of my other freebies both on the blog and in my store before you click on the button below to head to Primary Inspired for the next freebie!


(Did I mention there’s a $75 gift card giveaway at the end? I bet you ALL could use $75 to help with your back to school shopping (or help make up for it! :) Happy blog hopping!

Monday, November 19, 2012

Custom Lesson Plans to Easy Sub Plans!

So, if you're here, chances are very good that you found me through my customizable, editable lesson plan template. (The thing has- no joke- over 98,000 page views. Thank yoooou, Pinterest!) Well, if you've made one, I have news for you...

It's now super easy to make sub plan templates in Microsoft Word. It takes a little time up front, but trust me when I say that it makes sub plans so much easier later, when you need them.

I make my plans at the beginning of the year, but for the next few weeks, I try them out and make notes to myself of what I need to change or add. Things like "Johnny to speech" and "Kasey to O.T." are great little notes to add in in a tiny font as they come up.

Once I feel like I've got it just about perfect and definitely not right before I actually need sub plans for the first time, I make sample sub plans. If I have the basic format, this is so easy to do ahead of time, and makes it much simpler to just fill in later. Here's how:

First, save a copy of your lesson plans with a different name. No need to accidentally lose your lesson plans! Then, I like to open it so I can see a 2-page spread.


Next, you'll need to split the cells that are merged going across, if you have any. Just highlight the cell, right-click, and go to Split Cells...


Now, highlight the column you want to make plans for. I'm making sub plans for Friday. Copy this column, and then open a new Word document.


Paste it into the new document.  You may want to adjust the margins. When I did this, my table fell off the side of the page. Oh no! What to do now?


Not to fear! Go down to the views and click Web Layout. It'll let you see the edge of the table so you can bring it back in again. You don't have to be exact- just bring it in a little.


Then you can switch back to the normal page view to adjust.

I go back and copy/ paste the time column, too, to stick in front of the Friday column.

Hit Save As... and name it something like Sub Plans- Monday 2012. (I put the Sub Plans part first so that they all end up right next to each other in my folder.) I totally suggest using DropBox for this, so you can access it from home or school!

Now, I go through and type in more details where a sub would need them. I always include this in a folder that has more information about normal procedures, but I want to put the most necessary things here, such as attention-getting, behavioral system, and any special health needs.


It's okay if your table goes over one page. My sub plans are usually 2 or 3. I still like how the table breaks up the day into parts and makes it really easy to tell when something major (like a special or lunch) is happening. I leave the subject spaces empty to fill in later.

 If you want to keep making plans for each day, keep this document open so you can copy and paste the explanations that stay the same from day to day.

You can go back to your lesson plan page and copy relevant columns to make a document for each day of the week. Delete or add columns until you have just the time and day. Then, proceed to copy/paste any relevant explanations (for instance, my explanations for lunch, attendance, and dismissal stay the same every day) and fill in any that are different.

Now, when I need to be absent, I have a file ready for each day with most of the complicated stuff written out, and spaces for each subject.

My sub folder usually includes:
- these lesson plans (and an extra copy of them)
- a map of the school
- classroom roster with photos
- allergy or medical info they need to know
- behavioral issues they need to know
- more detail about procedures
- seating chart (using Post-Its in a file folder made this EASY to leave!)
- list of student jobs
- some "just in case" activities (Color By Number works well for this because it can take up plenty of time as needed!)

I always include an extra copy of the sub plans in the folder, and underneath I put copies and resources in order, paper-clipped together, with Post-It notes labeling each one.

I usually also leave enough change for a Coke in the teacher's lounge with a little thank you note, and the plan for bribing motivating my kiddos to behave. (5 cotton balls for our behavior jar are a BIG motivator!)

Of course, if you're looking for sub plans that are easy to leave in a pinch, I posted about some of my favorite lesson plans to leave for subs at the last minute and linked to 5 freebies for you, so be sure to check out this post!

Meanwhile, you may be wondering why I put myself through all this work to leave sub plans for last Friday.


Well, my "twin" got married this weekend! We've been friends for as long as I can remember, she was one of my bridesmaids, and it was incredible to stand up with her on her beautiful (and incredibly crafty) wedding day. Congratulations, Sarah! :)

Thursday, June 28, 2012

Google Calendar for the Classroom

I am exhausted.

This past weekend, I got to see my husband! Woooo! (He's in Dallas this summer for an internship.)


We went to northern Kentucky (just outside Cincinnati) to see his brother get married, before the Air Force sends him and his new wife off to Germany for a couple of years.


Saturday, after the wedding, we took a nap for about 3 hours before waking up at 3 in the morning. I drove him to the airport in Indy and then drove myself home. All things considered, I got home at 6:40 and took a quick nap before going to start our high school science camp first thing Sunday morning, which goes 8-5 and 7-8:30 in the evening.

The sky when I got home Sunday morning- so pretty!

Now, this program will only last for 9 days, and another 9 days later in July. So, it's not all that long- but between prepping for it, actually being social some evenings, spending time with my husband, traveling for the wedding this weekend, and of course the program itself... well, let's just say blogging has not happened lately!

I'm happy to have had some fun and be making a little money, but... can I just say that I'm incredibly jealous of those of you who are crafting and creating and coming up with adorable things for your classroom right now?

Anyway- I've discovered what I'm going to do to make my schedule planning much easier this year.

I always come up with my custom lesson plans (and don't forget, you can get a free template here or I'll make some personalized lesson plans for you if you want!), but I have always worked out the schedule by hand first. Paper and pencil- not great. Paper and Post-Its- better. But I've discovered something even better.

GOOGLE CALENDAR.

Yes, it's wonderful to use as an actual calendar (although, if you're like me, you prefer a hard copy in your teacher binder anyway). But it's also fantastic for schedule planning.

We have used it this week to plan our summer camp, and... wow.

I can drag things to a new day, stretch them out longer or make them smaller, and color code with such ease that I kind of can't believe I ever did this another way.

Click anywhere on the day. (You can move it or make it longer/ shorter later!) Add the name of the "event" and click to save.


 Stretch it out as long (or short) as you want by clicking and dragging on those two little lines.


Click anywhere but the title, and then here if you want to change the color.


You can even set it to repeat when you want it to. Just click on the title, and then click Repeat to have this screen pop up.


Click on any event, hold, and move to another day or time as you wish.

After you've adjusted to your heart's content, you can tell it to print. Choose the date range and landscape or portrait. But be warned, it won't come out with your pretty color-coding all colored in (which is actually great if you want to save ink!)

I'll still convert it into my lesson plans later (and delete the events from my calendar), but to figure the usual schedule out at the beginning, I am so excited for this! I printed before making my Word file, just so I wouldn't have to constantly flip back and forth between the calendar and Word.


I really want to do a classroom blog this year, too, and I think having a Google Calendar widget that specifically has all our school events will be fantastic!


Just when I think I can't love Google any more... *happy sigh*


P.S. -- Thank you for those of you who have left comments or sent me emails lately! I will be getting back to you very soon if I haven't already, but they make me even happier than Google. And pretty soon, I'm going to post about a giveaway that will make one of you 252 followers (!) very happy- so keep checking in! :)

Wednesday, June 20, 2012

Big announcement...

Whew- I am still blown away by the response to my lesson plan format.


In case you missed it, I wrote about my personalized lesson plan format here, and offered the Docx starter file for customizing your own lesson plans here. (If you'd like the .doc file, just shoot me an email. You can find it off to the right!)


To me, a custom lesson plan format makes life SO much easier. Those pre-formatted books may work well for people who have a special at the same time each day and are able to have the exact same schedule every day, but it doesn't work at all for me.

Here are a few tips if you're a new follower and making your own plans:

  1. Use little margins. 0.5 inches in all directions is a great starting place.
  2. Use a small font size.
  3. Try to choose a font that is still easy to read when it's small. (I use ABC Teacher.)
  4. Make sure that the font is set to be single-spaced (in the new Word, it defaults to 1.5 line spacing). 
  5. Make sections smaller when I don't need them to be big. Morning work is the same every morning for me, and I don't really need planning space, so that section gets to be skinnier. Lunch- well, I don't really need to plan for that, either, so it gets skinner.
  6. Add those things you do every week right onto the template. Spelling test? Introducing new vocabulary a certain way? Math centers? Add it in.
  7. At the beginning of the year, don't print out a year's worth. After a couple of weeks, stop to look back at your plans and adjust to make it work better for you!
  8. You can highlight whole columns or rows by clicking above the column or to the left of the row.
  9. Don't press enter to add space below your text. Just stretch the box size- that way if you need to make it smaller again, it's much simpler.
  10. Make a checklist for the things you need to make sure are done every week.

I will tell you- figuring out the format for perfect lesson planning pages is sometimes a hassle, but the end result is worth it.

If you aren't too tech-savvy, or just plain don't want to spend the time fussing over it, I'm going to take a leap here.

Hehe, a leap. {Because I'm luckeyfrog, and... never mind.}

I'm going to start Luckeyfrog's Lesson Plans. (cute logo to follow!)


I can make a custom 2-page lesson plan format specially for you for just $10.00. You can pick the font, the colors (or black and white), the style, and what's included! I'll even throw in sub plan templates for each day of the week at no extra charge!

And if you email me with your interest by this Friday, June 22, at 11:59- I'll do it for $8!

Questions, comments, or ready to sign up? Email me! :)

I know that at my school, we don't get our specials schedule until close to the start of school, so unless you know yours already, I'll just get the basics started now and reserve your spot until you know more details!


I won't take on too many at once, though, if you will be finding out your schedule in August... so don't wait! :) If you haven't spent too much time playing around with Word tables, I could be saving you hoooours of work this fall, and then making your planning easier all through the year!

In other news, I'm going to be spending the next few days with my husband (YAY!), who's been gone on an internship 1000 miles away for the past month, so I may not post much or respond to comments right away- but I'll try! :)

Have a GREAT weekend!

{P.S.- If anyone is wanting to get their TpT store or one of their products out there by donating it to a giveaway... please let me know!}

Saturday, April 14, 2012

Didn't Win the Giveaway? Freebie for Everyone!

I was so excited to post that Liz was the winner of my giveaway for a custom lesson planning template! But I did feel a little bad leaving the rest of my followers high and dry.


Dana asked if I'd be willing to share my lesson plan template as is, and I thought it was a great idea, but I realized that MY plans might not be very useful for you, especially since it's not in a common font and a PDF won't let you edit easily.

So I deleted away some of my stuff, and made this into a basic table that YOU can modify. You can change the font, tint the boxes, and whatever works for you.

In case you missed my last post, here's why I love this template!

I don't have to write things over and over again. If I always do a spelling pre-test on Wednesdays during spelling, I don't have to write it each week. If Susie always has speech at 10:20 on Friday, it's on my template already.


Because my specials were never in the same block (so every day's schedule was a little different), having a two-page spread at a glance made it easy to see my plans- and then I had an extra column on the right for my To Do list items that didn't change from week to week. It's also a great place to record weekly items like spelling lists, vocabulary words, reading story, etc.

Simply put, a little work up front to personalize my lesson plan template saves me an incredible amount of time over the course of the year.

A few tips for customizing:
  • You can always right click on any cell of the table, and you will usually have the option to split the cell in half (if, like me, not everything happens on an even time interval!). You can split horizontally or vertically. 
  • You can also select two or more cells, and usually, you have the option to merge them (again, just right click!). I merge cells going across for things like morning work or lunch, which are the same every day. I merge cells going down for bigger blocks of time.
  • Use a light gray tint to make the specials, lunch, dismissal, etc. stand out easily!
  • Make a checklist off to the side for whatever you will need to do EVERY week. For me, most of my centers stay the same each week but I change the activity, so I made a list of the centers so I didn't have to write it out (and try to remember all of them) each week.
  • Leave space at the top and bottom for reminders each day!
  • Don't copy a million plan pages at the beginning of the school year, because you will change the way you want to do things. Type in anything you find yourself writing each week!
If this is helpful for you, please leave a comment to say thank you! It makes my day :)


Click here to get the FREE .doc, .docx, and .pdf starter files from TeachersPayTeachers!

NOTE: For more tips about how to customize this template, see my post HERE!